I’ve been hesitant to describe our plastering process up until now, as I still consider myself to be a bit of a plastering novice. It’s also really hard to take accurate photos of plaster, especially without interior lighting! We have essentially been learning as we go, making adjustments to our techniques and process as we figure things out. Now that we have finally applied finish plaster to some of our walls, I feel comfortable sharing more details of our process, as our results have been highly satisfactory.
I would recommend that anyone reading this consider getting a copy of Carole Crews’ book on clay plastering, Clay Culture. This is the best book on the subject of clay plasters that I have seen. I’m also a big fan of the plaster work of Tom and Satomi Lander, who were kind enough to have me out to their place when I was new to southwest New Mexico. Their website LanderLand has some great information on plastering, trowels, and other earthen construction topics. On the topic of clay paint, I also found The Year of Mud to be another helpful resource.
I suggest first learning as much as you can through books and online resources, but ultimately, you’ll learn the most through trial and error. Earthen plasters are quite forgiving and workable, but it takes a lot of skill and effort to make them look good. If you end up applying your plaster in 2 or 3 layers, you’ll gain some good skills and intuition from applying the early layers, and you’ll be able to put them to good use on your finish coat.
You can find earlier posts on the topic of our base coat of earthen plaster here and here. In retrospect, I probably would have tried to get the base coat a bit flatter and more uniform, as this would have made the subsequent coats of plaster easier to apply. Pre-packing mud in places in the wall where mortar had been eroded might have also made it easier to get the base coat a bit flatter. Ultimately, the way we did our base coat seems to have allowed us to achieve good final results, but with each plaster coat it is always best to strive to get it as flat and uniform as possible (although the inevitable imperfections are part of its charm and beauty!).
Although I originally (and perhaps naively) thought we could get away with only two coats of plaster on the walls, I decided eventually that it would be best to finish the walls with a third layer to add color. The advantage to doing a thin, final coat with color is that you use much less pigment, white clay, and mica then if you try to color a thicker, 2nd plaster coat. With a third, thin coat you save on material cost and do much less fine-screening of materials. However, an additional coat adds considerable time and effort, so it’s important to determine your priorities ahead of time.

Our second coat of plaster was about a quarter of an inch thick and was a mixture of sand, clay, straw, wheat paste, and water. We screened the sand, clay, and straw down to an 1/8th of an inch. After we would get all the plaster up on a wall, I’d go back over it with a water sprayer and trowel or plastic lid to smooth it out. I went through a lot of lids on this second coat of plaster! Lids are nice because you can work in a circular motion. I’d often have to begin the smoothing process when the plaster was a bit wetter than ideal, so the plastic lid offered a nice middle-ground between floating the plaster and troweling it. This seemed fine for a second coat that we were planning to do a finish coat over later.
The second coat of plaster is flatter and smoother than the base coat and it seems very strong. We found that a fairly wet consistency was easiest to apply to the walls, making sure that it was not soupy. Additionally, a wetter mix allowed us to blend adjacent sections of plaster together without creating a ridge where the fresh plaster joined with the drying plaster. We used our water sprayers frequently to prevent the plaster from drying too soon, and to keep it workable for longer. Trowels, sprayers, and plastic lids were essential tools for us!

Aliz (clay paint) coat


We are currently in the process of completing the third (and final) layer of our walls. This layer is known as an aliz, or clay paint. It is basically just a very thin plaster layer. Some people choose to apply this layer with a paint brush, but we found that we can get a smoother, more uniform layer applying it with our trowels. A paint brush works, but it seems to require more work to smooth it out later. With the trowel application, there is less work to do after to get the smooth finish we desire.
Our aliz recipe is based off of one of Carole Crews’ recipes (see link to her book above). We use a locally sourced white clay that we acquire from an outcrop on the side of a lonesome desert highway. We screen this clay through aluminum window screen, which results in a very fine grain size. We screen our sand through a splatter screen (see link to The Year of Mud site above). This results in an even finer sand grain size. Both of these screening processes take awhile, but they are essential to an easy application of the aliz.
In addition to the white clay and the sand, we add 60c mica that we get from New Mexico Clay in Albuquerque. Although the mica adds a bit of sparkle to the clay paint, we primarily use it because it gives the paint a very nice, workable quality. If you desire more sparkle in your paint, you can always add in additional, larger size chips of mica.
To the white clay, sand, and mica, we add water, wheat paste, and pigment. So far, we’ve used yellow ocher and red iron oxide. A combination of these two pigments makes a peach color. It does take a lot of pigment to create bold colors, especially with the ocher, which doesn’t seem to go as far as the red iron oxide. We mix in dry pigment with water before mixing it in with other dry ingredients.
Our general ratios are as follows:
2 parts clay
1 part sand
1 part mica
.75 part wheat paste
Water to achieve desired consistency (aim for as wet as possible without getting soupy)
Pigment to achieve desired color (e.g., 1/4 part of ocher for yellow color)
We mix this aliz up in a wheelbarrow using a mixing attachment on a cordless drill. We work hard to make sure everything is mixed up evenly. Generally, we mix our dry ingredients together first. Then we pour in all the wet ingredients and mix together. We add additional water in until we reach our desired consistency. We like it pretty wet, but not so wet that it can’t hold its shape on the trowel. We like it when it holds a bit of its thickness on the trowel, but gradually runs off it.
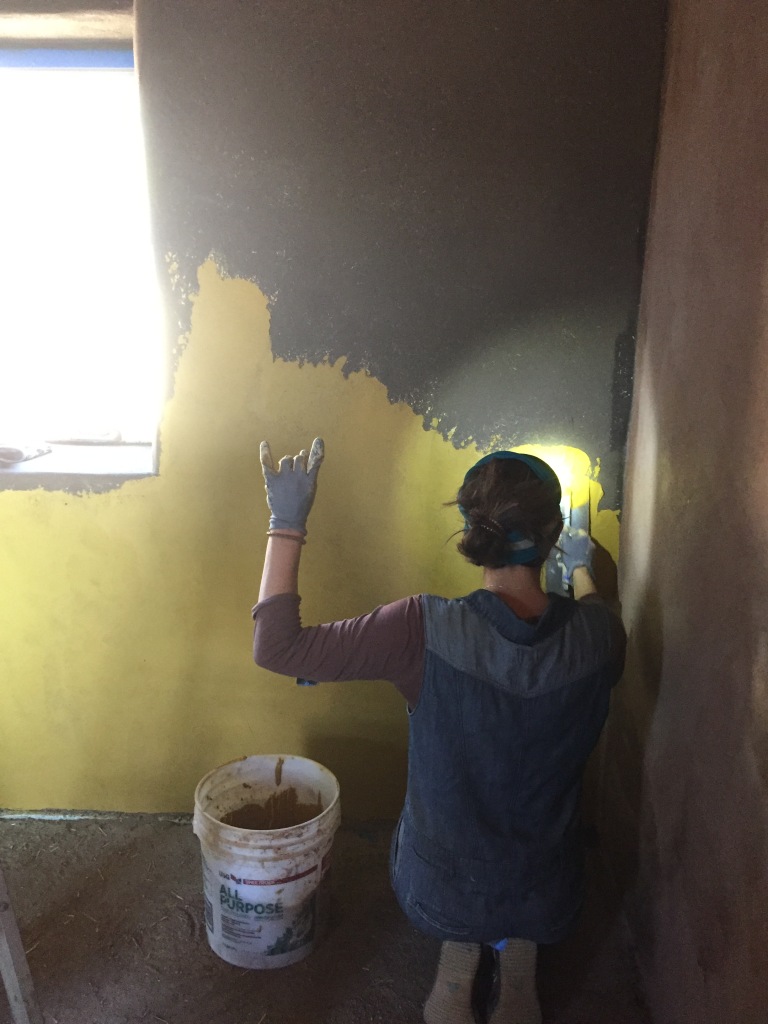
We apply the clay paint to the walls with our trowels, trying to get it thin and smooth. As our friend and plastering expert Jeff likes to say, you basically want to “scrape it on”. We really try to apply the paint as smooth and uniform as possible before we leave it to start drying. It doesn’t have to be perfect, but the smoother it’s applied, the easier it is to finish later.

After about an hour and a half, the aliz is already getting dry enough to start hard troweling. I use the water sprayer to just slightly moisten a small section of wall. You really don’t want it to be very wet, but it can’t be too dry either. Then I take a small pool trowel (4 inches wide x 8 inches tall) and hard trowel the wall, closing the pores and smoothing the paint. This is probably the most important part of the process. Once the whole wall is hard troweled, I go back over it with a damp sponge. The sponge further tightens up the paint and removes any remaining trowel marks. The wall has to be fairly dry to sponge, otherwise it actually roughens up the paint. You know it’s dry enough to sponge when the sponge has the effect of smoothing out the paint. Try to wring the sponge out as much as possible prior to rubbing on the wall – rinse and wring it often.
We still have many more walls to finish with clay paint. The photos shown here have all been from just two different rooms. We plan to try out some different colors as we continue to paint the remaining rooms of the house. As you may be able to tell, the wet plaster as it is being applied is quite different in color from the fully dried color you end up with on your wall. It’s always a good idea to do some color tests before you paint an entire wall so you have a better idea of what to expect.
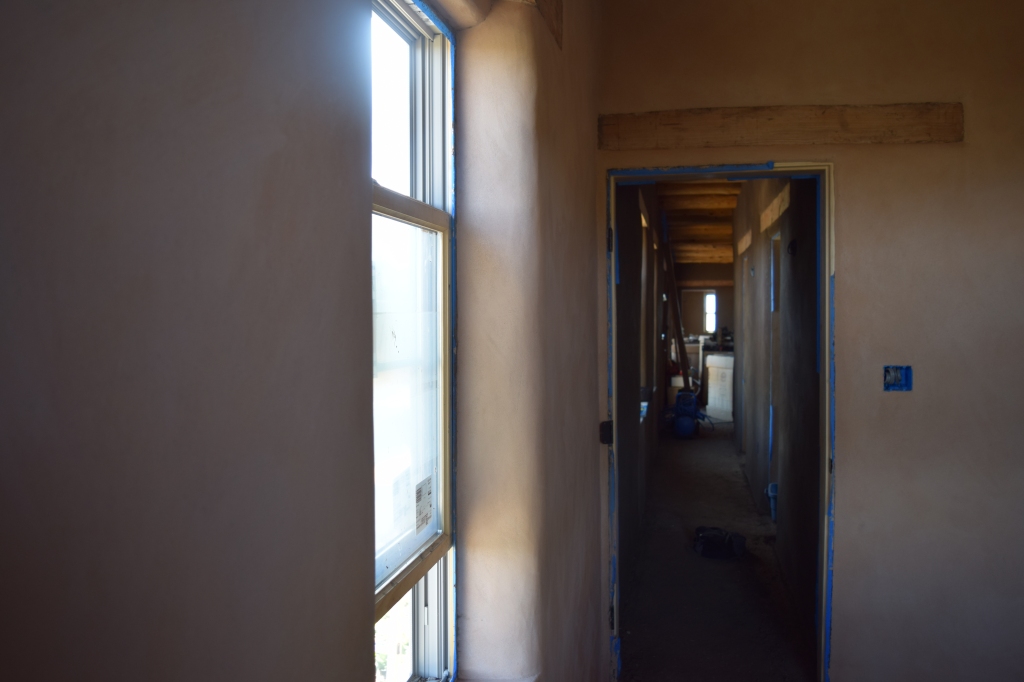
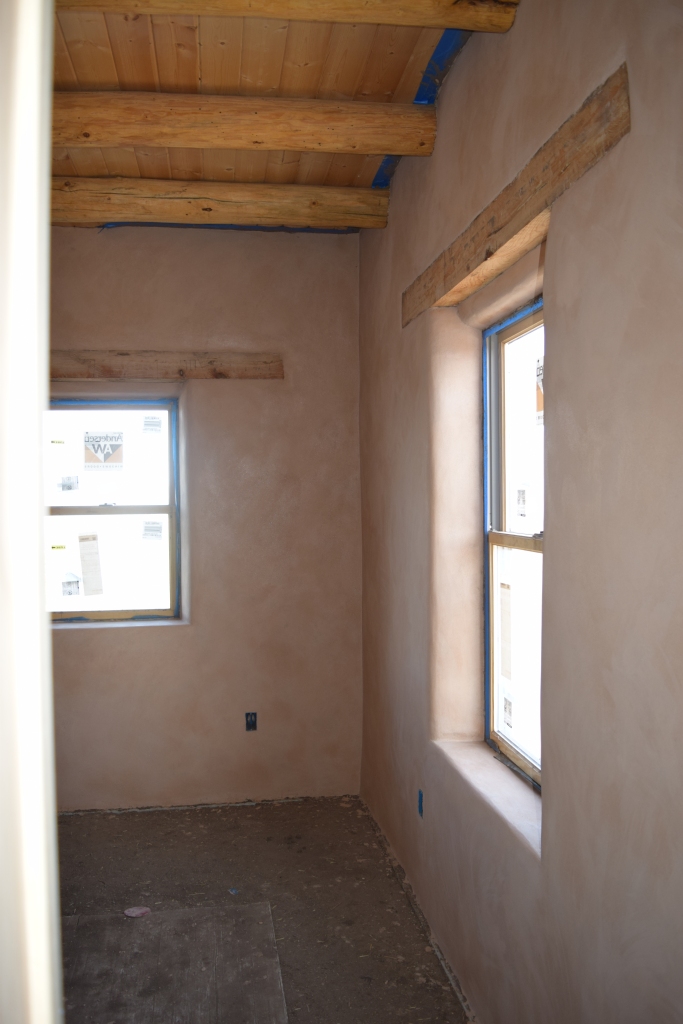
One really nice aspect of applying these light-colored plasters is that the rooms become so much brighter! Light really bounces off of the painted walls. A room with finished plaster feels so nice and inviting to be in. Obviously, I’m biased, but an earth-plastered room feels amazing to inhabit! Make no mistake about it, plastering is a long, hard process. It takes a lot of time and effort, but the finished results reward your hard work!

The walls are luscious. All your research and hard work paid off. You’ll enjoy these walls for many years to come. Looks like a LOT of work, but maybe fun as well. Did Leo help? Did he have a tiny trowel? I imagine he’s good with mud.
LikeLike
Hi Anne! Yes, definitely a lot of work. I don’t know if I’d call it fun, but it’s pretty satisfying work! It’s a great feeling to step back at the end of the day and see the finished product. Leo mostly offers feedback, which has been positive! Sometimes he comes up on the weekends when I have to touch things up or looking things over.
LikeLike
This is a wonderful and educational course in plastering. Your hard work and great results must be so satisfying. The lighter walls after completed do make rooms look larger and more inviting. I am so proud of your work, and that you are sharing it with so many others. We hope to visit in the coming months to see it for ourselves!
LikeLike
Nice job guys. Being that you built passive solar, are you planning to maybe keep some of the other walls more darker earth tones to help absorb thermal heat ? In my restoration project I have two rooms, because of the old time design that will never receive direct sun so I plan on an off white-ish color for brightness, however in the rooms that can receive direct sun I plan on somewhat darker scheme on the earthen floors and walls for heat absorption and retention. Guessing you factored in such considerations already too ! You’s have come a long way, looking fantastic 👍 !!
LikeLike
Hi Benjamin! As always, thanks for your comments and feedback! I am planning to add some of our regular brown clay to deepen the color of other walls, but I’m kind of prioritizing lightening up the interiors with the paint. The floors, however, will be darker, but I think that color isn’t as much of a factor when it comes to earthen walls and their absorption of heat. You definitely want your frame walls to be lighter in color so that the sunlight can bounce off it and onto a surface with thermal mass. Ed Mazria talks a bit about that kind of stuff in The Passive Solar Energy Book. I think your color scheme sounds good though – certainly doesn’t hurt to have some walls a bit darker!
Thanks so much for following our process and giving your feedback! Always appreciated!
LikeLike
Interesting stuff. Keep up the good work. I enjoy the posts
LikeLike
Hi Bryan, thanks so much for your interest in what we’re doing! We should have more content up soon, so keep checking back with us from time to time.
LikeLike
Hello, I really like the inner seashell, what type of pigment did you use for that?
LikeLike
Hi Shonda,
For that color we used a combination of red iron oxide and yellow ocher, both purchased from New Mexico Clay in Albuquerque. The following is our recipe, which can be re-sized, depending on how much you need:
10 quarts white clay
5 quarts sand
5 quarts mica
20 TB yellow ocher
5 TB red iron oxide
3 1/4 quarts wheat paste
Thanks for checking out our website! Let me know if you have any other questions.
LikeLike