The year is now 2018 and the winter season is in full swing. We count ourselves lucky during this time of our adobe work, as the season has been quite mild. Daytime temperatures have been in the 50’s and 60’s, while overnight lows have ranged from low 20’s to upper-30’s. We’ve had two snowstorms thus far.
Ol’ Jackie Frost has mostly been kind to us. As some of our readers may know, freezing temperatures create a non-ideal environment for still-drying mortar. The concern is that if the mortar freezes, the mortar could expand to a great enough extent that the bond with the adobe is broken.


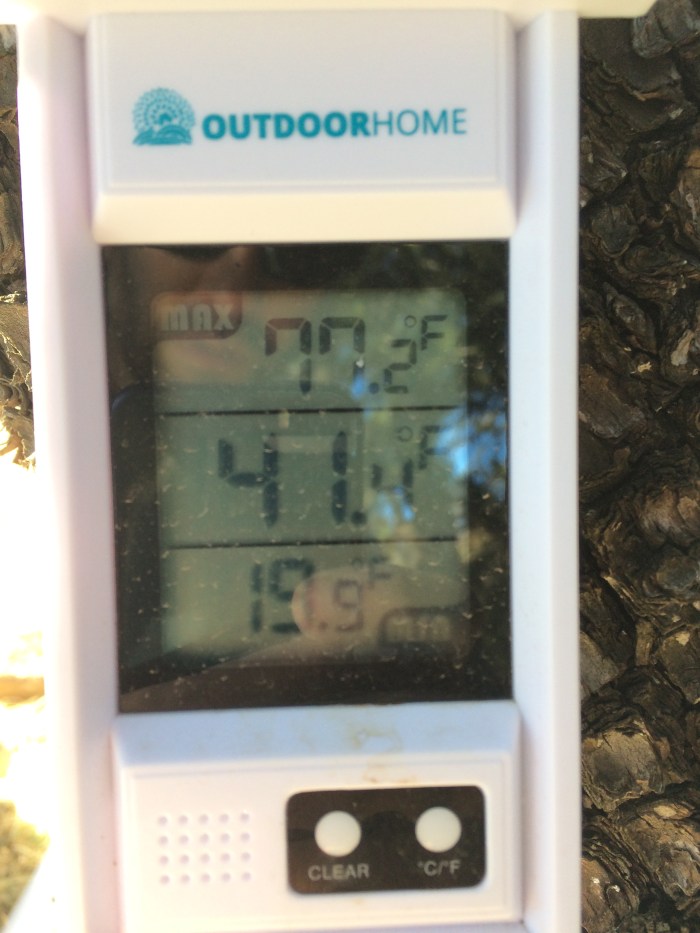
We’ve approached our winter adobe work with caution and attention paid to the weather forecasts. We’ve found that despite our homesite being around 1000 feet higher in elevation than the town of Silver City, our site tends to enjoy warmer weather. We’ve had our share of nighttime freezes, but it hasn’t been too extreme. We’ve employed a basic digital thermometer at our build site that records maximum and minimum temperatures until it is reset. Whenever we go up to the site to work, we can see how cold it has gotten since our last visit.
Mortar drying times during this time of year seem to fluctuate based on variations in sunlight and daytime temperatures. Mortar that is exposed on the south side of any wall dries the fastest, as it is exposed to the greatest amount of sun. The north sides of all walls dry the slowest. I am most concerned about overnight freezing during the first 48 hours after bricks have been laid. After 48 hours, it usually seems like the exterior layer of the mortar is quite dry. If you pulled an adobe off at this point, you’d definitely find that the mortar inside is still moist, but the dry outer surface seems like it would provide a sufficient buffer against light freezes.

I regularly walk around the house in the morning when I arrive to work, and I try to wiggle bricks laid the previous week. I pay attention to the look and feel of the mortar. I look for any signs of adobes having been lifted by freeze/thaw cycles. What I’ve been seeing has been encouraging. The walls feel solid and I see no obvious signs of freezing issues. Occasionally I’ll get an adobe to wiggle slightly, but this is the exception and not the rule.
We’ve been laying adobes for almost three months now, although I did some traveling for about three weeks of that time to visit family. We are currently on our ninth course. That’s the ninth course out of a total of twenty. This feels like a slow pace to me, but Daniel and I have developed a good routine since we started in October.
I usually arrive at 8:30 AM to Patterson’s place where our pallets of bricks are stored. I remove the tailgate from my truck and start loading a pallet of bricks by hand into the truck bed. There are 75 bricks to a pallet and this quantity fits almost perfectly in the back of the truck. This is a great way to get the ticker pumping and the blood flowing on cool winter mornings! (On such mornings I am often reminded of a line in Solzhenitsyn’s One Day in the Life of Ivan Denisovich, which reads, “Let your work warm you up, that [is] your only salvation”. Of course, Solzhenitsyn is talking about forced work in a Siberian prison camp, but I like to apply the adage to my more privileged circumstances.)
It takes about 20 minutes to load a pallet and secure it in the truck. I drive the load slowly up the hill along the rocky road. Once at the build site, I check the thermometer for the minimum overnight temperature and conduct my walk around the house. I uncover the generator, plug in the mixer, hook up the hose, and make other preparations if time allows before Daniel arrives.
Daniel usually comes a little after 9:00 AM. We usually chat for a bit and then get started with the first mortar mix. Daniel mixes while I put the string lines up between the story poles and get my tools ready (level, tape measure, angle grinder, chisel, hammer, etc.). I usually have Daniel make 2 mortar mixes in a row, so that I can get ahead with the brick-laying. I have been laying all the adobes and Daniel alternates between making mortar mixes, cutting bricks, and packing mortar joints. We talk together, crack jokes and listen to music. We have a good time.
I usually lay between 75-100 adobes in a typical work day. Assuming we have good weather, we usually complete one course per week. This ninth course is probably the last I’ll do without a ladder to stand on. From the finished floor height the wall is now about 4.5 feet tall, but off the current grade it’s over 5 feet. A two or three-foot ladder will come in handy next week … it probably would have come in handy this week too.
And thus, little by little the house climbs ever so higher. Each week the walls might only get about 5 inches taller, but the progress is noticeable and satisfying. I like exhausting my energies in the construction of this house. I even kind of like the slow pace of its construction. We’ll be on this brick-laying stage for the next few months. It’s starting to feel like a house!


What dimensions do you use for window and door rough bucks? Thanks!
LikeLike
Hello Alex,
For our doors, I used 2x10s to build the rough bucks. In the future, I would use 2x6s instead, and I used 2x6s for the window rough bucks. If I remember correctly, I added two inches to the width of the door and two inches to the height to size the openings of the rough bucks. I don’t think I added quite that much extra space for the windows, but I can’t totally remember. Essentially, you just want to allow yourself enough space to ensure that you can install the doors and windows plumb and level. If you know what doors and windows you’ll be purchasing, check with the supplier to ask what they recommend for the rough openings. Those specifications should be available.
I hope that helps! Thanks for your question!
LikeLike