Installing the attic insulation and roof sheathing went much faster than I had anticipated. The quick pace has proven to be quite auspicious, as the typical summer monsoon storm systems begin to play out in southwestern New Mexico.
Nick, an owner-builder pal of mine, helped me put up the insulation and sheathing over the course of two and a half days. In another half day we put the roof underlayment down, which officially made the house (at least temporarily) “dried-in”. I almost didn’t know what to do with myself at first, having spent the preceding 25 months worrying over every rumble of thunder, every dark cumulonimbus cloud, every precipitation event our desert climate has mustered up over the past two years.
Before we put any OSB sheathing up, we first installed the insulation in the section we planned to sheathe. For the insulation, we used Knauf R-49 Kraft Faced EcoBatt insulation batts. The insulation went down between the roof trusses right on top of the vapor barrier above the ceiling. The batts fit very nicely lengthwise between our walls, so we barely had to cut any to get them put in.

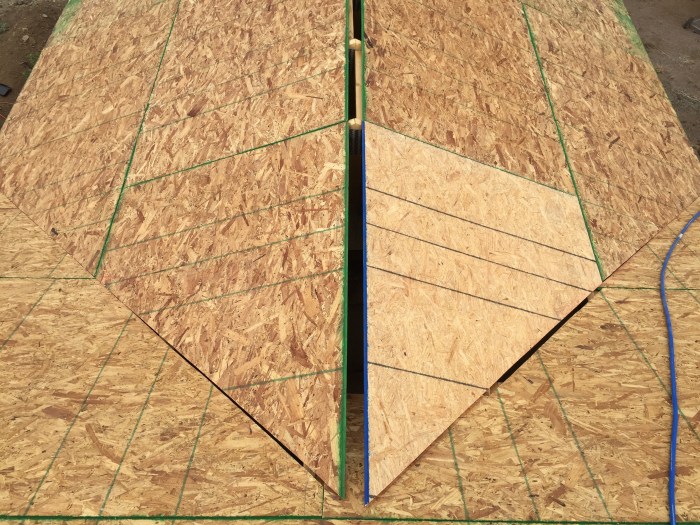
Once we had an area insulated, we’d then start putting the sheathing up. We used tongue and groove 5/8 inch OSB for the sheathing, which is a nice, sturdy product that doesn’t require H-clips to connect the sheets together. The first day, I hoisted most of the sheets up to Nick on the roof, but on the second day we found it to be easier on both of us to walk the sheets up together on ladders.

Since Daniel and I did a nice job getting our trusses evenly spaced, the OSB went on quickly and easily. We’d do the bottom row of OSB first and then stagger the sheets above so there was good overlap of the seams. I mostly stayed on the ground to cut the pieces for the top row, which needed a few inches taken off, and would cut the pieces overhanging the gable ends. There were also some tricky cuts in the valley where the utility room intersects the main roof of the house.
I can’t say that putting up the roof sheathing was fun, because it wasn’t. These were hot, mostly cloudless days in late June/early July, and we worked hard and fast. It was, however, satisfying to see our quick progress throughout the course of the day. It’s the kind of work you want to get over and done with quickly anyway, so it was good to push through and finish.
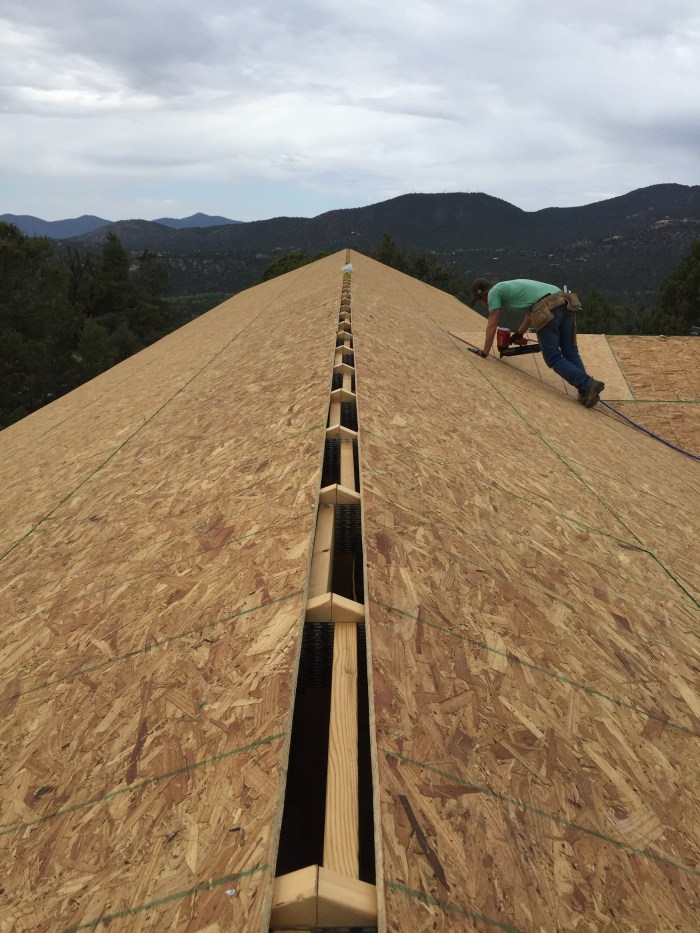
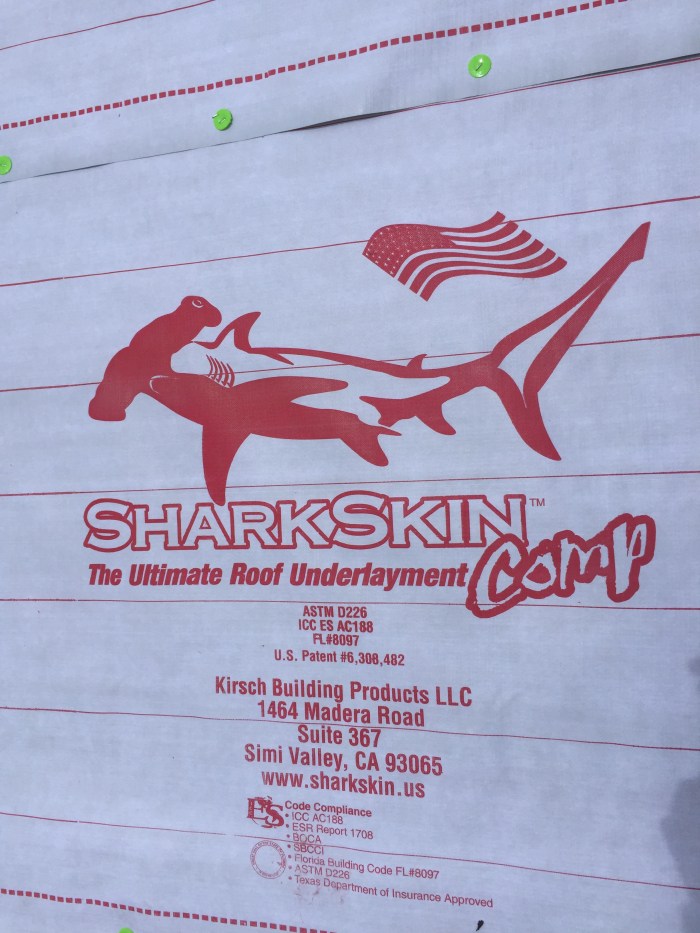
After the final sheet of OSB was in place, I wanted to get the roof underlayment up as quickly as possible. With the roof underlayment on, the house would basically be impervious to any rainfall the clouds could offer up. We used an underlayment called Sharkskin, which is recommended by the roof manufacturer we’re using. It seems to be an excellent product and has held up well so far – it’s one of the pricier underlayment options, but seems to be worth the expense.
We borrowed a cap nail gun from MasterCraft, the local company we are getting our roof from (MasterCraft roofs are the Cadillacs of metal roofs and I highly recommend you check them out: https://www.mastercraftmetals.com/). The cap nail gun worked partially, although the cap had to be manually advanced for each staple. It still made for quicker work than nailing or stapling by hand.
Before the metal roof panels can be installed, the fascia trim and metal valleys have to be installed first. John, another owner-builder pal and neighbor of mine, has been helping me with this. Putting up the fascia trim was tedious work. So tedious, in fact, that I don’t even want to go into describing the installation! It really wasn’t that bad, but it seemed to go slowly after the quick pace of the roof sheathing. It does give a nice touch to the roof though, and being the same color as the eventual roof panels, it gives the first hint of what the roof color will look like.
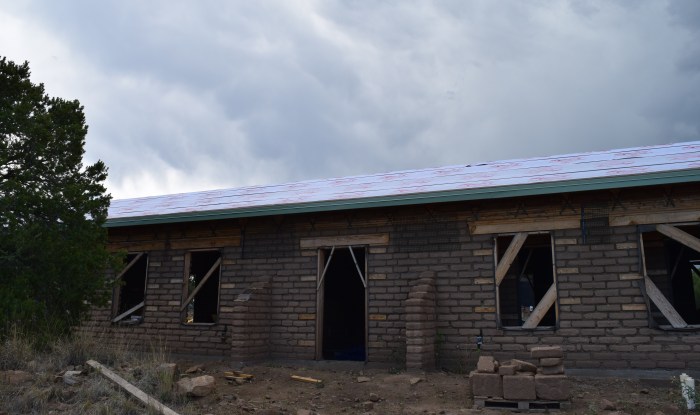
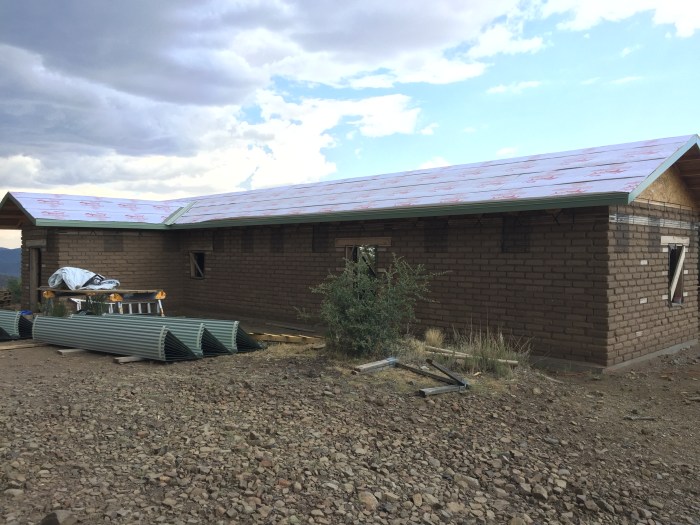
The metal valleys actually went in smoothly, although the somewhat complicated cuts where the valleys meet initially seemed like it would be tough to make work. With the fascia trim and valleys complete, we are now ready to begin installing the metal roof panels – the final layer of the roof.


Outstanding!
Nice work Ethan, Nick, and John.
Great pictures and description.
Larry
LikeLike