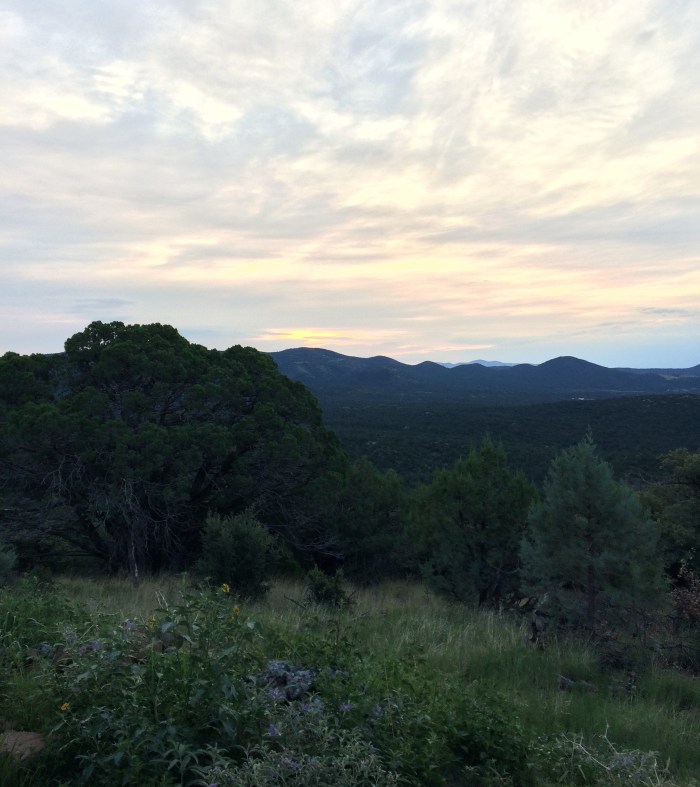
I arrived early to the build site on the morning of August 10th. The sun was starting to rise above the mountains in the cloudy eastern sky and all was peaceful and still. It was the quiet before a storm of intense activity to come – Stuart from Custom Steelworks was on his way in his crane truck to help us lift the vigas onto the house. It would be a day of noise, sweat, speed, and no accidents.
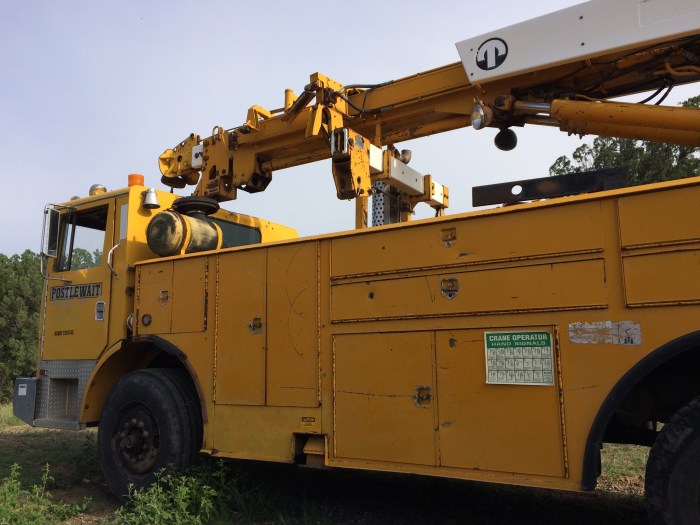
Stu arrived on time in his large yellow crane truck. It was a bit larger than I had imagined and certainly looked up to the task of raising vigas, but maneuvering into position close to the house would be the trickiest part of the operation. We had previously decided on three spots to park the truck, and Daniel and I had accordingly made three piles of vigas in those areas. Stu got the truck turned around and he backed into the first spot at the corner of the master bedroom.

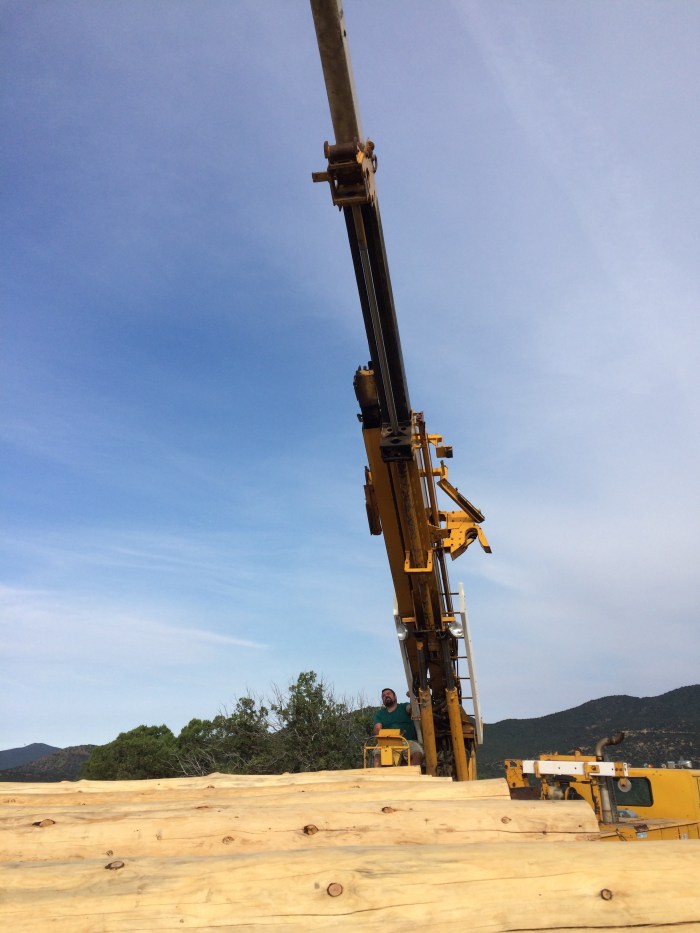
After stabilizing the truck, Stu climbed into the seat in the back of the truck and extended out the crane. He lowered the crane hook to just above the pile of vigas, and we used a strap to wrap around the center of the first viga and attached the strap ends to the hook. He slowly raised the viga while I made sure it didn’t swing as it ascended alongside the wall. Once the viga was above the reach of my control, I ran to join Daniel, who was waiting on a ladder inside the house to receive the viga. As Stu carefully lowered the viga onto the bond beam, Daniel and I would grab hold of each end of the viga and help control it as it came to rest on the bond beam. We’d then unhook the strap, and Daniel would reposition the ladders for the next viga as I ran around the house to hook on the next log.
After the first viga, we decided to use two straps per viga to gain better control and stability when raising and lowering the vigas. The vigas had a tendency to spin around a bit in the air until Daniel and I could grab ahold of them. Often times we’d have to flip the viga around to orient the skinny end above the south wall and the thick end above the north wall. All this we were able to do quickly and safely, with little threat of danger to the house.
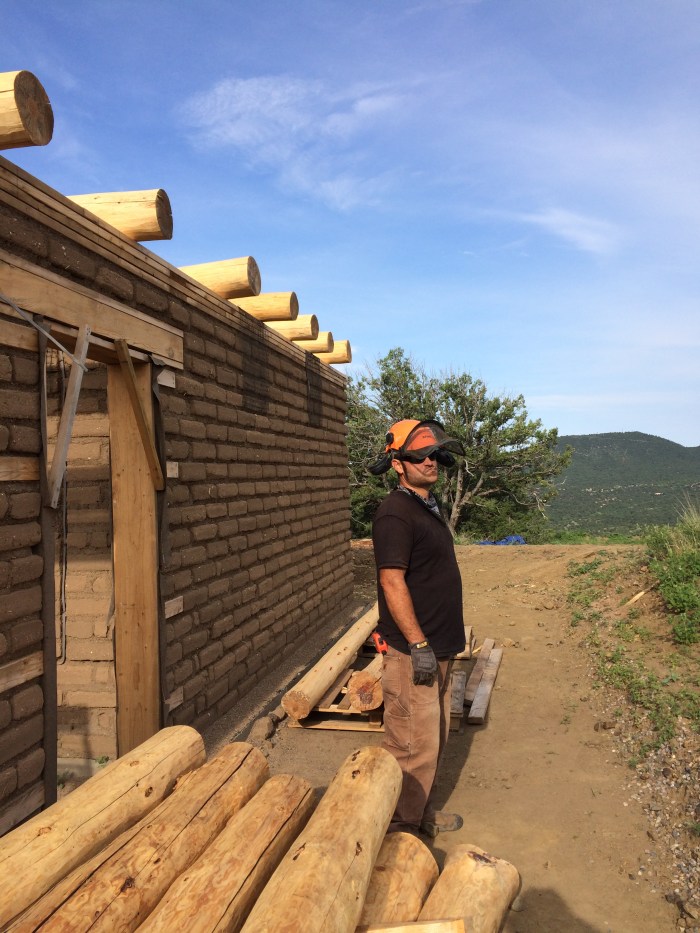
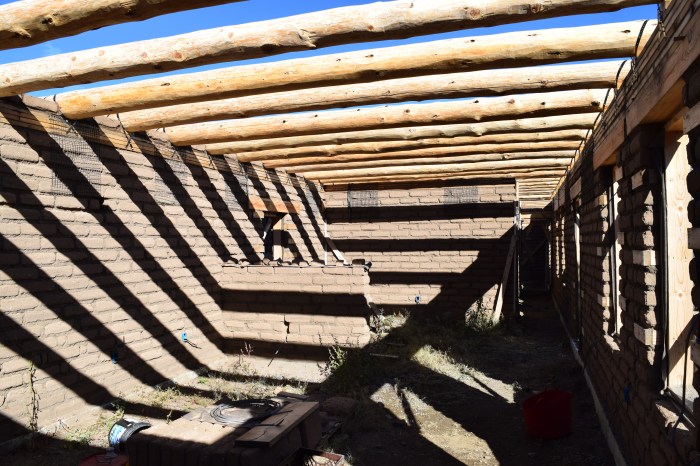
We really had to hustle that day, but we were able to get all the vigas up onto the walls in just about 3 hours. Everything went really smoothly and efficiently. After Stu rumbled away back down the driveway, Daniel and I spent the rest of the day getting the vigas temporarily stabilized with rocks on either side to keep them from rolling. We also scooted them a little closer to their true positions on the walls.
_____________________________________
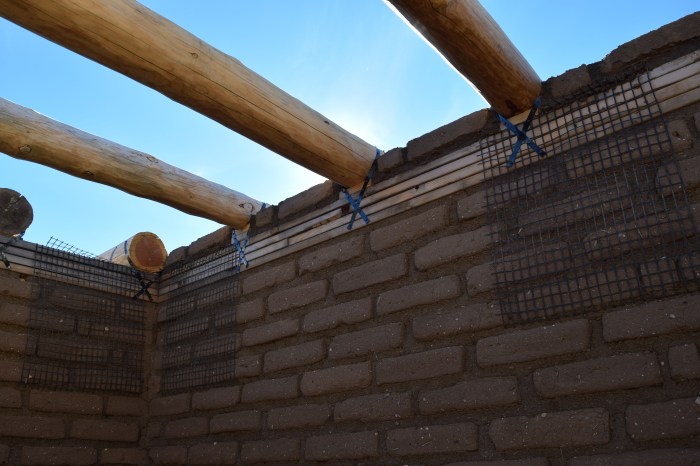
Three days later, our son Leo was born. We halted work on the house for about two and a half weeks, the vigas waiting idly atop the house for our eventual return. When I did return, it was with Megan’s dad, John, who helped me calculate the exact positions for the vigas in each room. It was important to me (mostly for aesthetic reasons) that the vigas be spaced evenly from the walls and each other, so John and I would measure the length of each room, determine the viga spacing, and mark out where the viga centers would need to be on the bond beam. We’d then move the vigas into position and rotate them to get the best side facing down into the room. Over the course of two days we got all the viga positions marked and the vigas moved into place.
The following week Daniel and I began to strap down the vigas. The very first step in this process was to put up string lines to delineate the top height of the vigas. One of the wonderful and challenging attributes of vigas is that they tend to taper from one end to the other. Additionally, our vigas varied in diameter, with some vigas being significantly thicker than others. It was important to set a height above the bond beam that corresponded to the biggest viga, so that all the other vigas could be shimmed up to the same height.
We used the transit level to determine the thickest viga (10.5″ diameter) and set our string lines accordingly. With the string lines up, we got to work on our first viga. We’d use pieces of 1/4″ plywood, 3/8″ plywood, 1/2″ OSB, and/or 2×10 wood to bring each end of the viga up to a height just below the string line. With each viga end brought up to the string line, we’d then use some punched steel strapping to tie the vigas down to the bond beam. We’d screw the steel strap into the viga and then into each layer of the bond beam. We used two straps on each end of each viga, making an X on top of the viga and on each side of the bond beam were the straps cross each other.


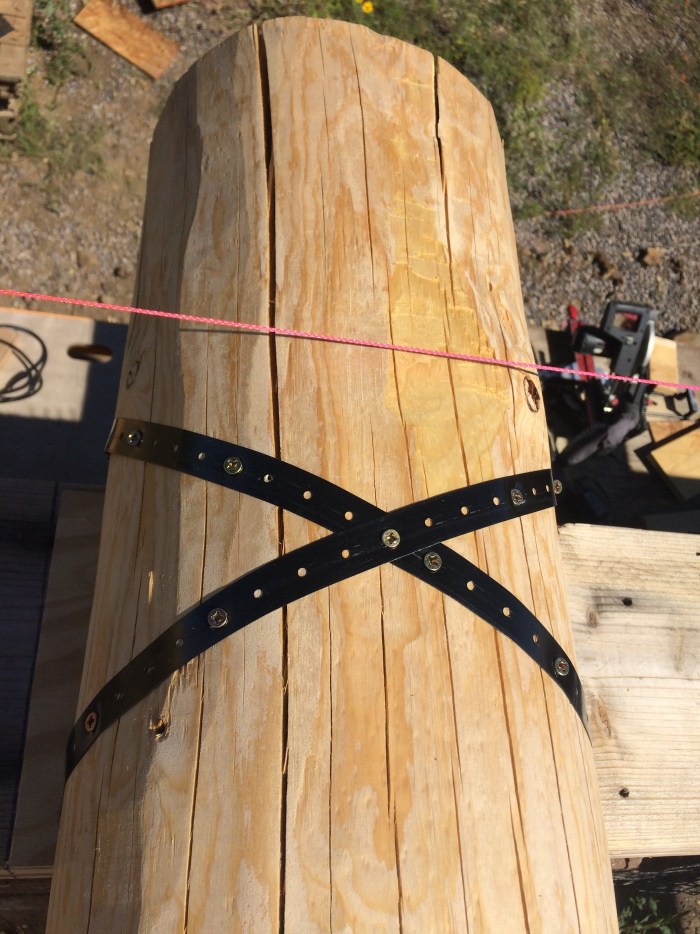
We found this method of securing the vigas to the walls to be very effective. We could get the steel straps incredibly tight by putting in the screws at an angle so that they would pull the strap taught. An added benefit of this method was that by screwing the strap into each layer of the bond beam, we helped strengthen the bond beam and tied the layers of wood more tightly together.
____________________________
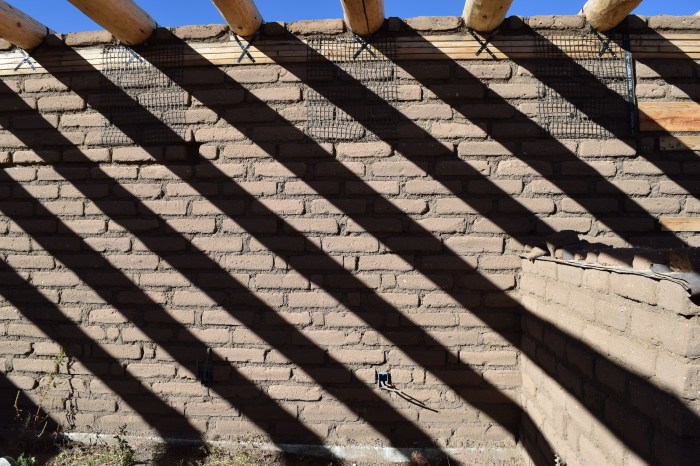
With all the vigas finally strapped down, Daniel and I have begun to fill in between the vigas with adobes. This is a nice return to the adobe work and will be the final adobes laid on the house. There will be two adobe courses between the vigas so that the top of the second course will be level with the tops of the vigas.
We started laying adobes this past Friday. It was slow work. The first course is about nine feet up, so I have to work from a scaffold. Daniel has to get the mud and bricks up to me. Additionally, there is only about 24 inches between the vigas, so every other brick has to be cut. Although the work progressed slowly, it was nice to be playing in the mud again.

Love the vigas and the X-strap tie downs. >C
On Sun, Oct 28, 2018 at 12:18 PM Vision creation adobe wrote:
> visioncreationadobe posted: ” I arrived early to the build site on the > morning of August 10th. The sun was starting to rise above the mountains in > the cloudy eastern sky and all was peaceful and still. It was the quiet > before a storm of intense activity to come – Stewart from Custom” >
LikeLike
The detail I like the best is that your son Leo is born! Congratulations! In addition, the vigas on the top of the house, with the straps, and with the adobe between, shows work well done,.
LikeLike
What will you do to keep drywood termites from entering the end of the vigas.
I built a house in Tucson with 8×8 doug fir beams from the Bisbee mine and had problems with those insects. My nest house will not include any exposed beams to the outside.
Any other ideas?
Bob
Tucson
LikeLike
Hi Bob, thanks for your inquiry and thanks for reading! Even though the vigas are overhanging the wall in the photos, there will eventually be a light straw-clay insulation wall against the north wall. Once that wall is in place, the vigas won’t be overhanging on the outside – although I suppose it would still be possible for termites to get in. I’ll have to research the topic a bit more. I haven’t heard much about termite problems in our area. Thanks again for your comment!
LikeLike
Some areas of NM don’t have much problems with termites. I’m north of Silver City and last summer I started to peel out an hundred and twenty year old lintel (that was exposed) out our old family summer house and there was zero termite damage. Yes dry rot was the main reason for the replacement, but no insect damage that I could detect. Your project is sure coming together, buen trabajo (good job)!
LikeLike