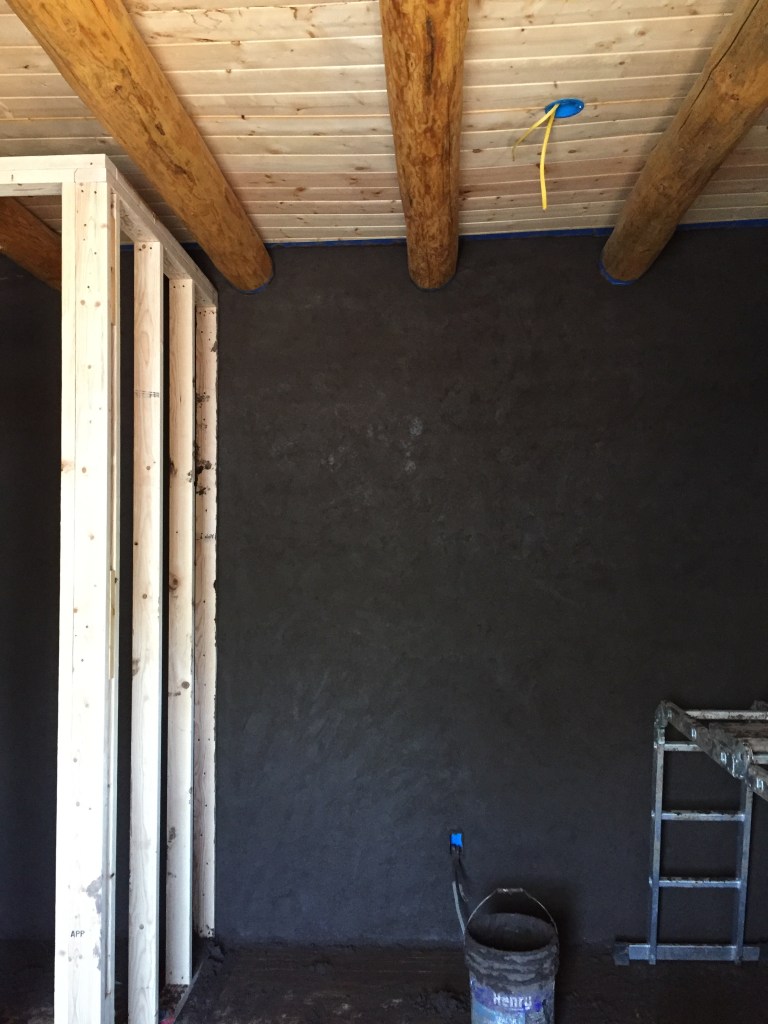
Working two days a week, it took from January 15th until April 10th to complete the base coat of earthen plaster on the interior of the house. It was a long and, for the most part, enjoyable process. Not all of our work days were actually spent plastering, as some were devoted to preparing the walls. Preparation involved covering gringo blocks and the wood bond beam with either burlap or roofing paper/metal lathe, packing mud over the electrical wire channels, and doing some final shimming and insulating around doors and windows, as necessary. Days spent plastering were more fun than the days spent preparing the walls, and they certainly felt more productive. It was always nice at the end of a day to step back and look at the plastered wall. The wall would be transformed and newly homogenous in appearance.
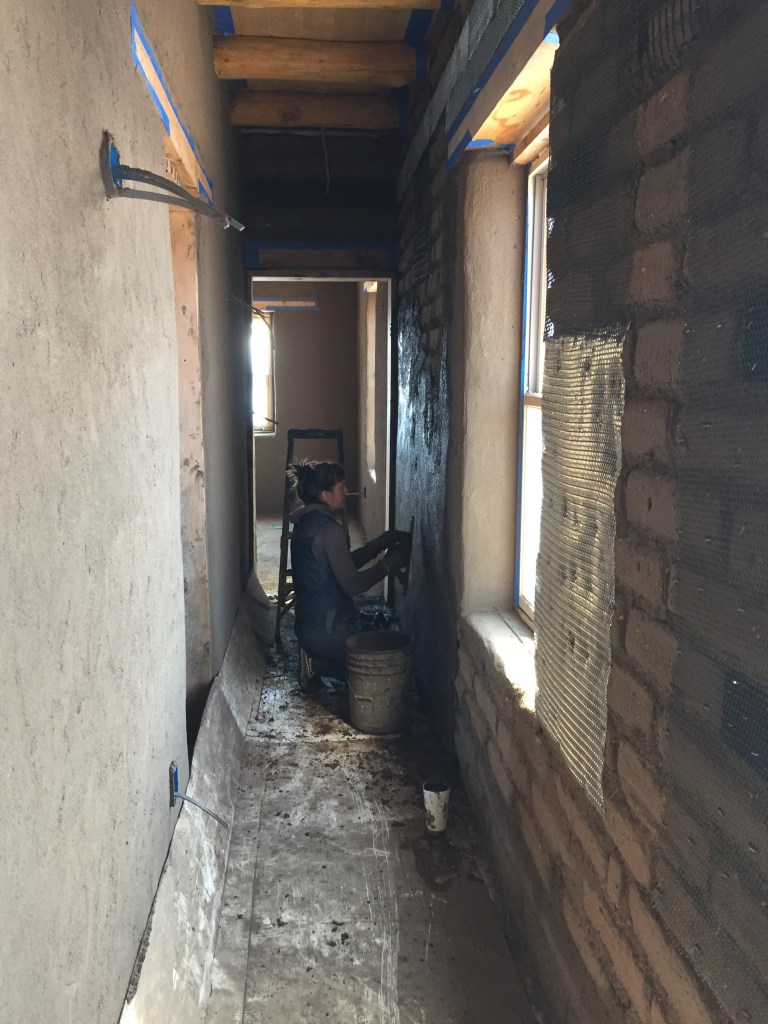
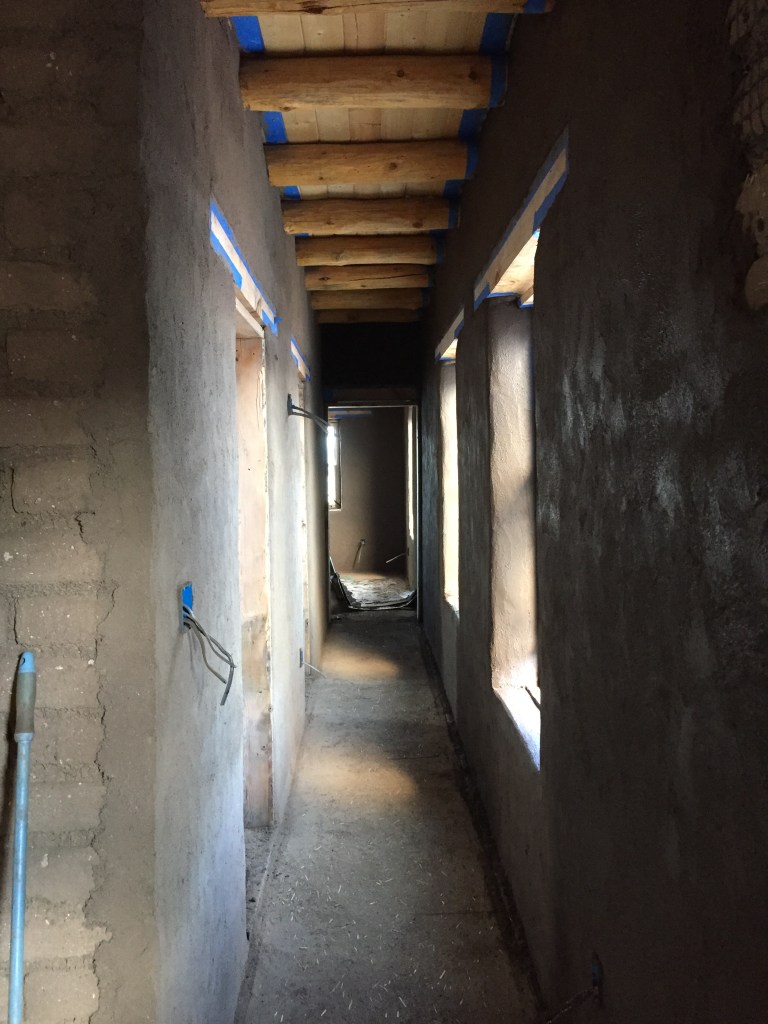
I wish I would have taken more photographs during this process, but it was usually hard to take a photo that could capture a room in its entirety. The hallway did allow for some nice photos:

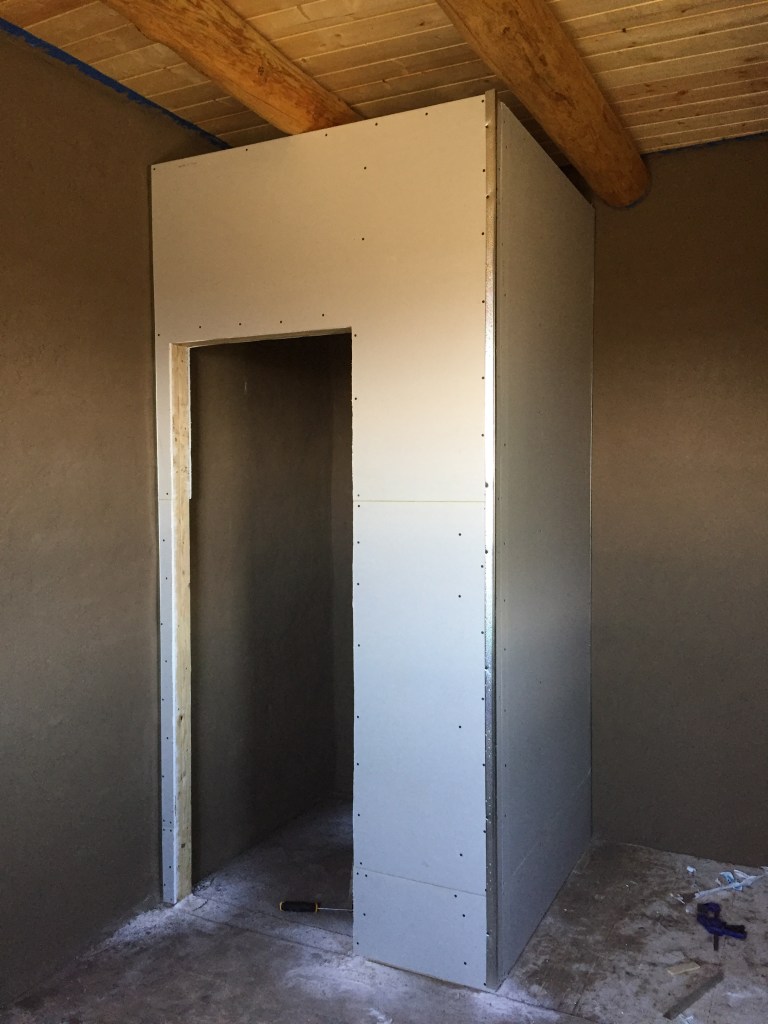
After finishing the base coat of plaster, we started hanging drywall on the few frame walls inside the house. Aside from three closets and a partition wall between the bathroom and office, all the other interior walls are adobe. Up until this point, the frame walls were just wood studs.
Having never hung or mudded drywall before, I was a bit nervous about my ability to make these walls look good. All the steps of drywalling are fairly straight-forward, but some of the skills involved in taping and mudding the joints between panels of drywall seem to take a certain amount of experience to master. I have found that by doing the taping and mudding slowly and carefully I’ve been able to do a decent job.


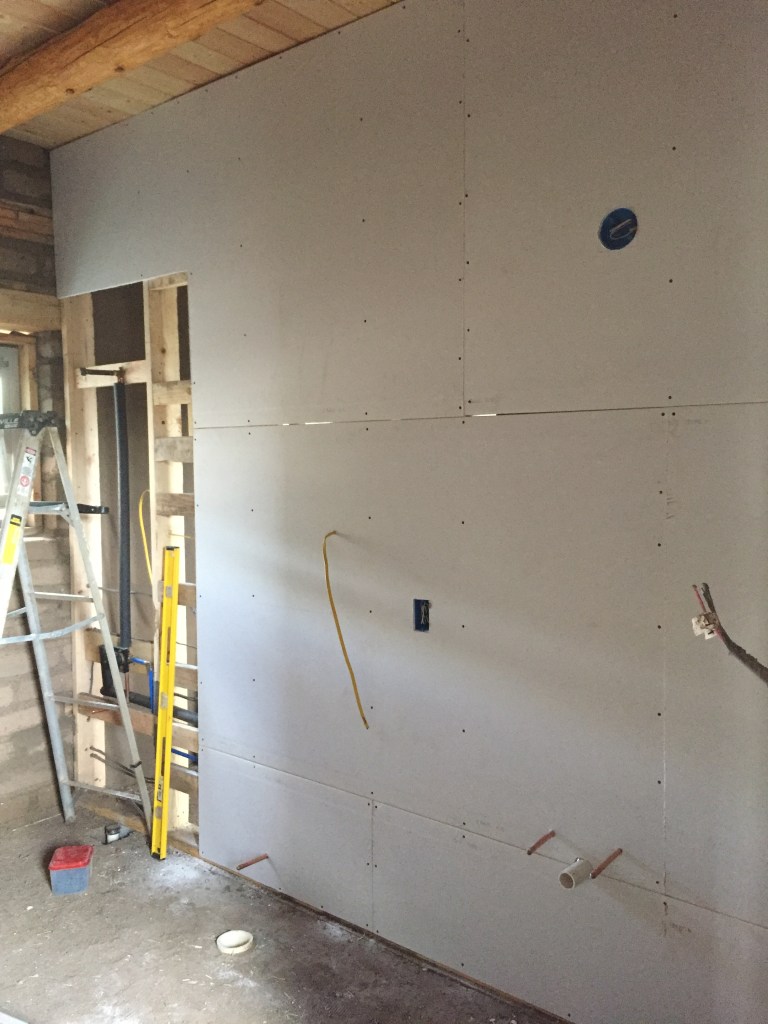
Did I mention how fun it is to cut out the openings for outlets, light switches, lights, and pipes? Fun is probably a bit of an exaggeration, but it certainly was satisfying to put a panel up and have all of our openings in the right places! I know there are quicker methods, but prior to putting a panel up we’d measure all the dimensions of the boxes and pipes as well as their distance from the edges of the panel. I’d then mark out the openings on the panel and cut them out with a jab saw. We’d usually have to make a few adjustments to get the panel to fit just right when we hung it on the wall, but we were always pretty close.
Although I prefer an adobe wall to a drywall/wood frame wall any day, it was a quicker process to put up these frame walls. For closets and plumbing walls, wood frame construction makes a lot of sense and adds a nice contrast of materials to an otherwise earthen home.
Finally, the rooms of the house are starting to take their final size and shape with the hanging of the drywall. Pretty soon we’ll begin the second coat of plaster on the adobe walls. I also still have quite a bit more taping and mudding to do before the drywall is finished.

Looking good 👍. Have you thought about maybe leaving a wall somewhere natural brick or maybe whitewashed as an accent wall ? I plan on plastering but leaving a 4×4 ‘window’ down to the natural brick just to show the true wall. Just an idea, your’s is definitely coming all together !
Sincerely,
Benjamin T.
LikeLike
Hi Benjamin, you know, I planned to leave a “truth window” in the plaster, but forgot to actually do it! I do still have a few walls that are currently un-plastered, as there is either additional electrical, plumbing, or cabinetry needed prior to plastering. So I have some options left for adding a truth window, which I still plan to do. One suggestion I have heard is putting like a glass picture frame over a section of a wall to keep the adobes protected and prevent them dropping dirt over time.
Thanks for your comment and for your continued interest in our project!
Ethan
LikeLike
Congratulations! Isn’t this work satisfying? You will get to live with your craftsmanship for the rest of your days. And Leo will get to say, ‘My dad built this. My mom made that’.
Anne here – Go Megan! I tried plastering – I didn’t have the arm strength. By the time we finished the house, I’d have the hang of it.
On Sat, May 2, 2020 at 10:26 AM Vision creation adobe wrote:
> visioncreationadobe posted: ” Working two days a week, it took from > January 15th until April 10th to complete the base coat of earthen plaster > on the interior of the house. It was a long and, for the most part, > enjoyable process. Not all of our work days were actually spent plasterin” >
LikeLike
Hey thanks for posting this useful information about plastering and hanging drywall here, I really hope it will be helpful to many. It will help a lot; these types of content should get appreciated. I will bookmark your site; I hope to read more such informative contents in future. Appreciative content!
LikeLike
Hi New Homes Auckland, thanks for your feedback! I’m glad you found my site to be informative! Your website displays some amazing work!
LikeLike
Hey thanks for posting this useful tip here plastering and hanging drywall, I really hope it will be helpful to many. Appreciative content!! Really nice way to present this content, very appreciative!!
LikeLike
Thank you very much for sharing about plastering and hanging drywall here… I really hope I can work on your tips and it works for me too, I am happy to come across your article. Great post I must admit, keep sharing more…
LikeLike
This article is very helpful for my next project. Thank you for sharing this wonderful work that we can use it too in our next project.
LikeLike